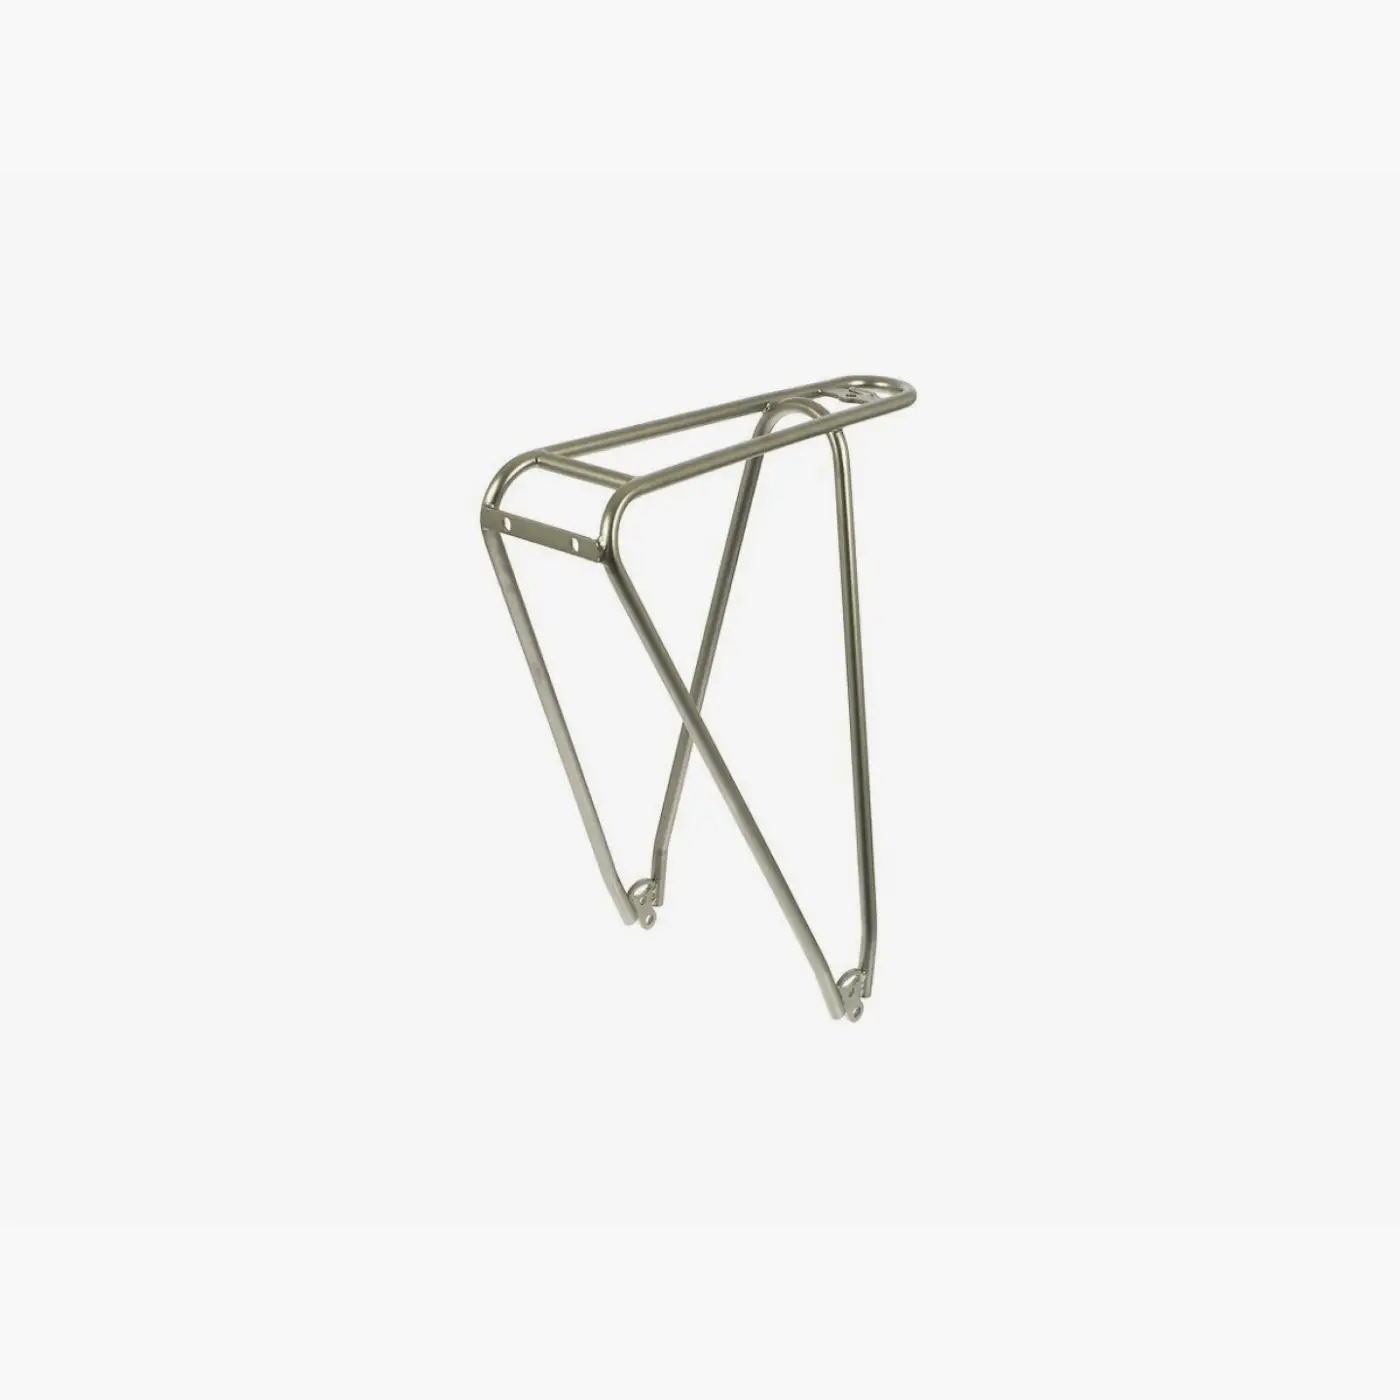
Rear Rack installation
This guide explains how to install a Tubus rear rack on Booda Bike models that use this three-point mounting layout.
The rack has three mounting points:
- 1 upper center mounting point near the mudguard mount
- 2 lower side mounting points near the rear dropouts / chainstays
Tools needed
Section titled “Tools needed”- 4 mm Allen key
- T25 Torx key
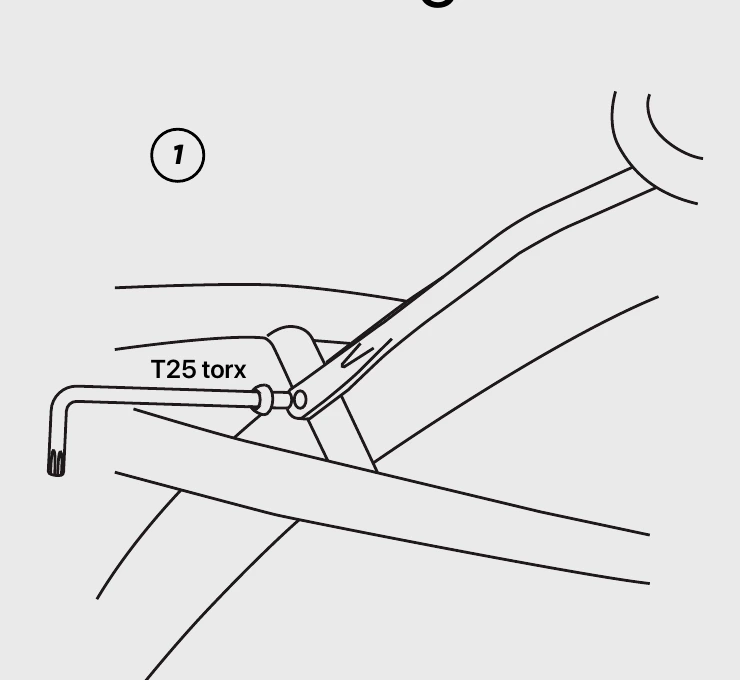
1. Attach the upper center mount
Section titled “1. Attach the upper center mount”Start with the upper center mounting point near the mudguard mount.
Position the rack and insert the screw from above into the upper mounting point.
Tighten this screw with a T25 Torx key.
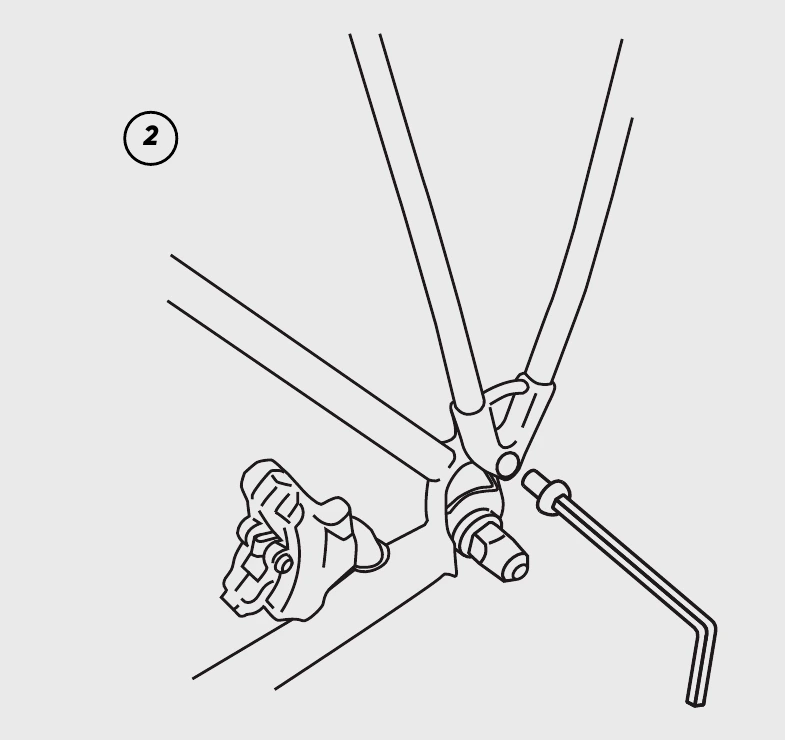
2. Attach one lower side mount
Section titled “2. Attach one lower side mount”At one side of the rear dropout, align the rack stay with the mounting point.
Insert and tighten the side screw with a 4 mm Allen key.
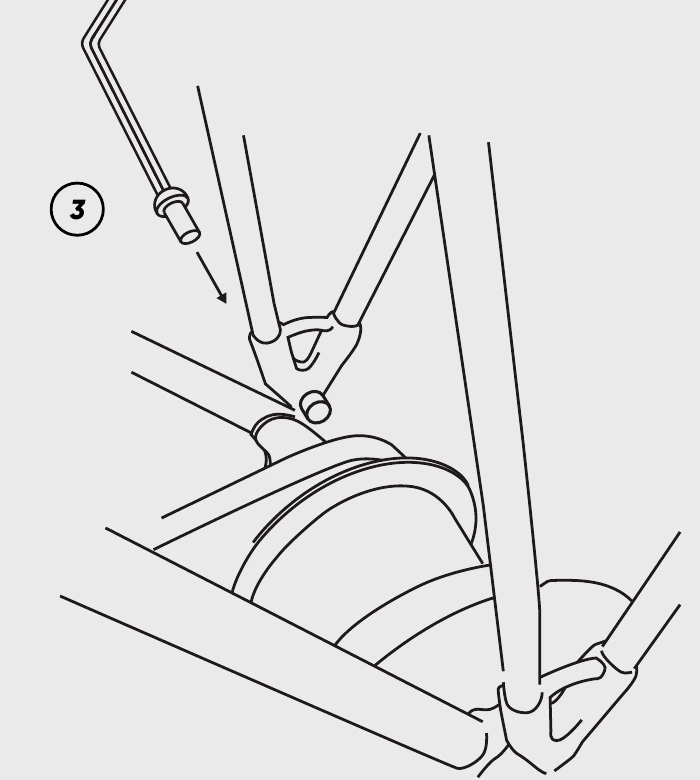
3. Attach the other lower side mount
Section titled “3. Attach the other lower side mount”Repeat the previous step on the other side.
Make sure the rack stays sit correctly in the mounting points before tightening.
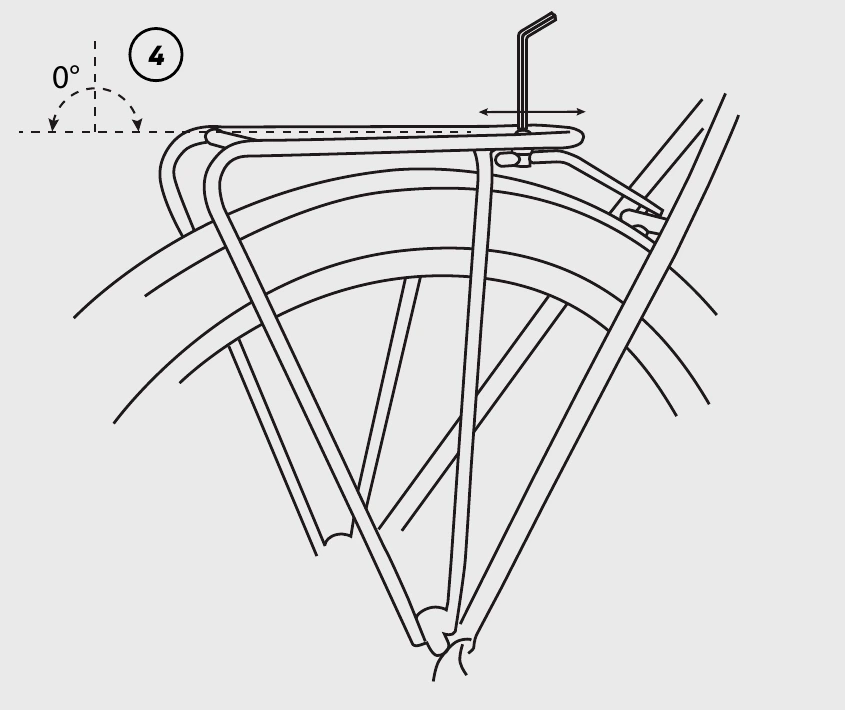
4. Level the rack
Section titled “4. Level the rack”As a final step, adjust the rack stay position so the rack platform sits level.
Check it from the side and make sure the rack is straight and even.
Final check
Section titled “Final check”Before riding:
- Check that all three mounting points are tightened securely.
- Check that the rack is level.
- Check that the rack is centered over the wheel.
- Check that the rack does not touch the mudguard or tire.
- Push the rack by hand to confirm that it does not move.